Why Place Photoshop Files in InDesign?
Adobe InDesign allows you to place virtually any type of image file into a frame. This allows us to place in JPEG, PNG, TIFF, etc. so that we are not limited to the type of image we would like in our InDesign documents. But you might be surprised to learn that you can import Photoshop files directly. But why would we want to import the raw Photoshop (or Illustrator) file into InDesign and not simply save it as a flat file like a JPEG?
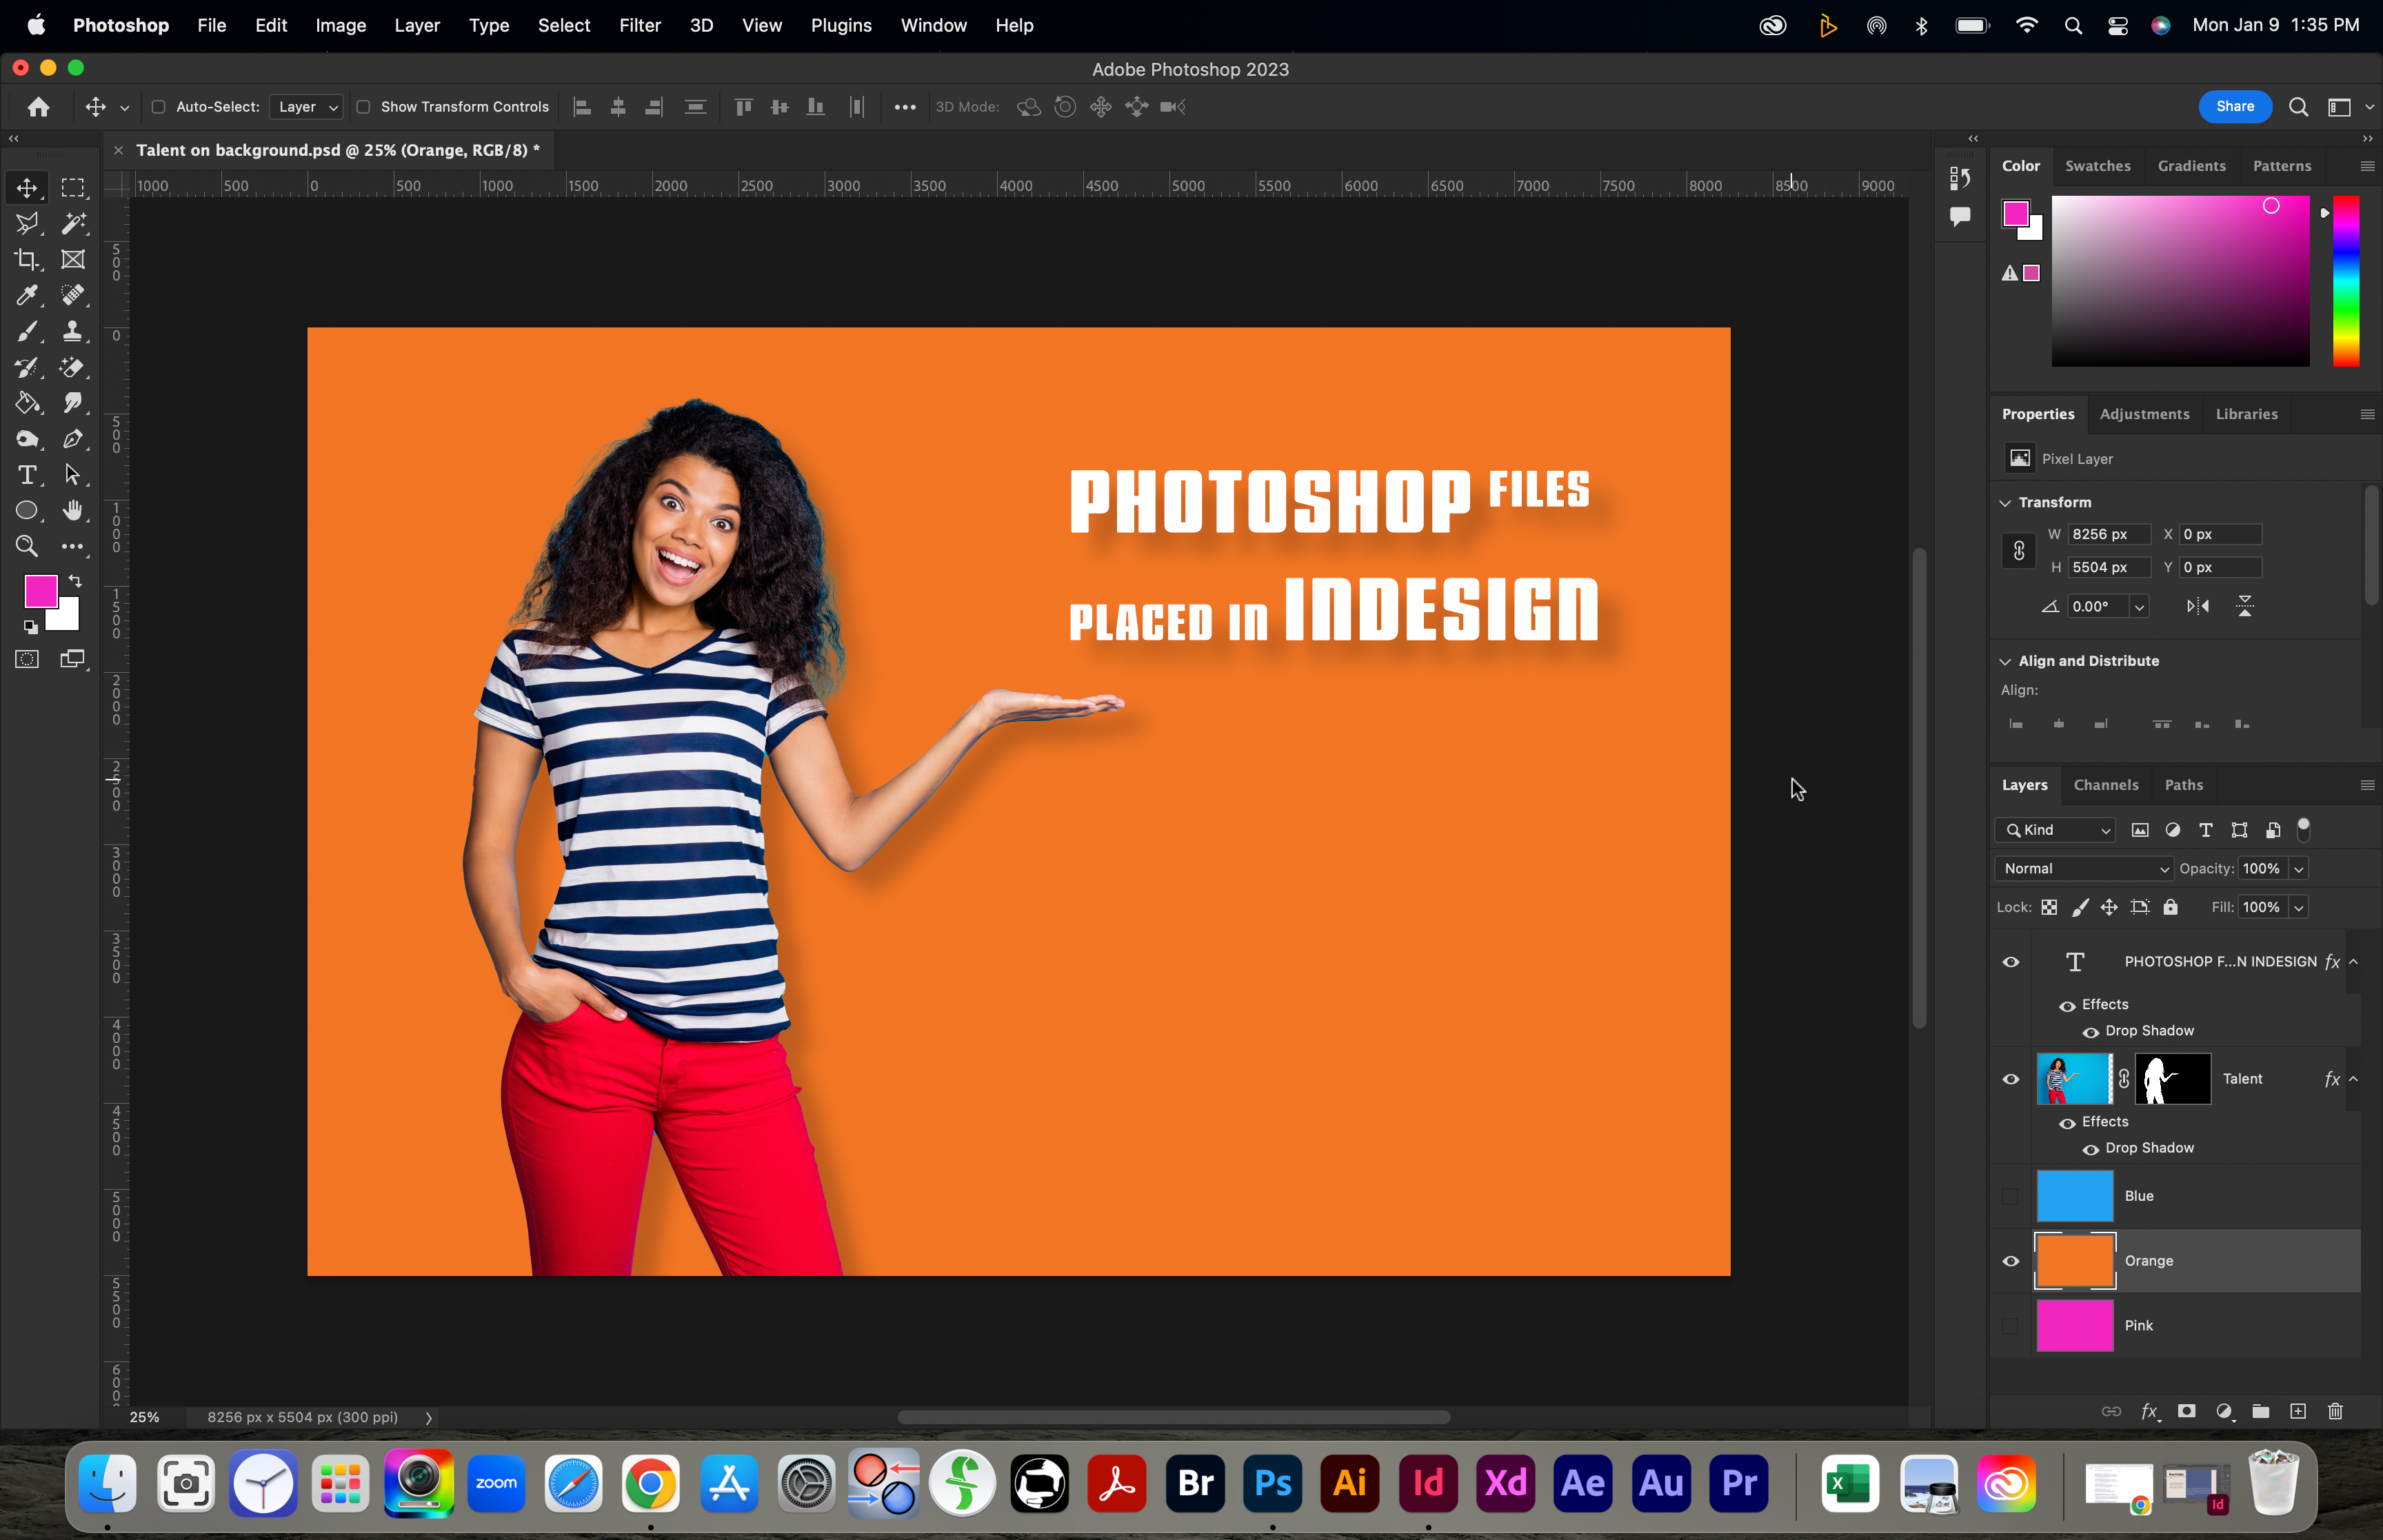
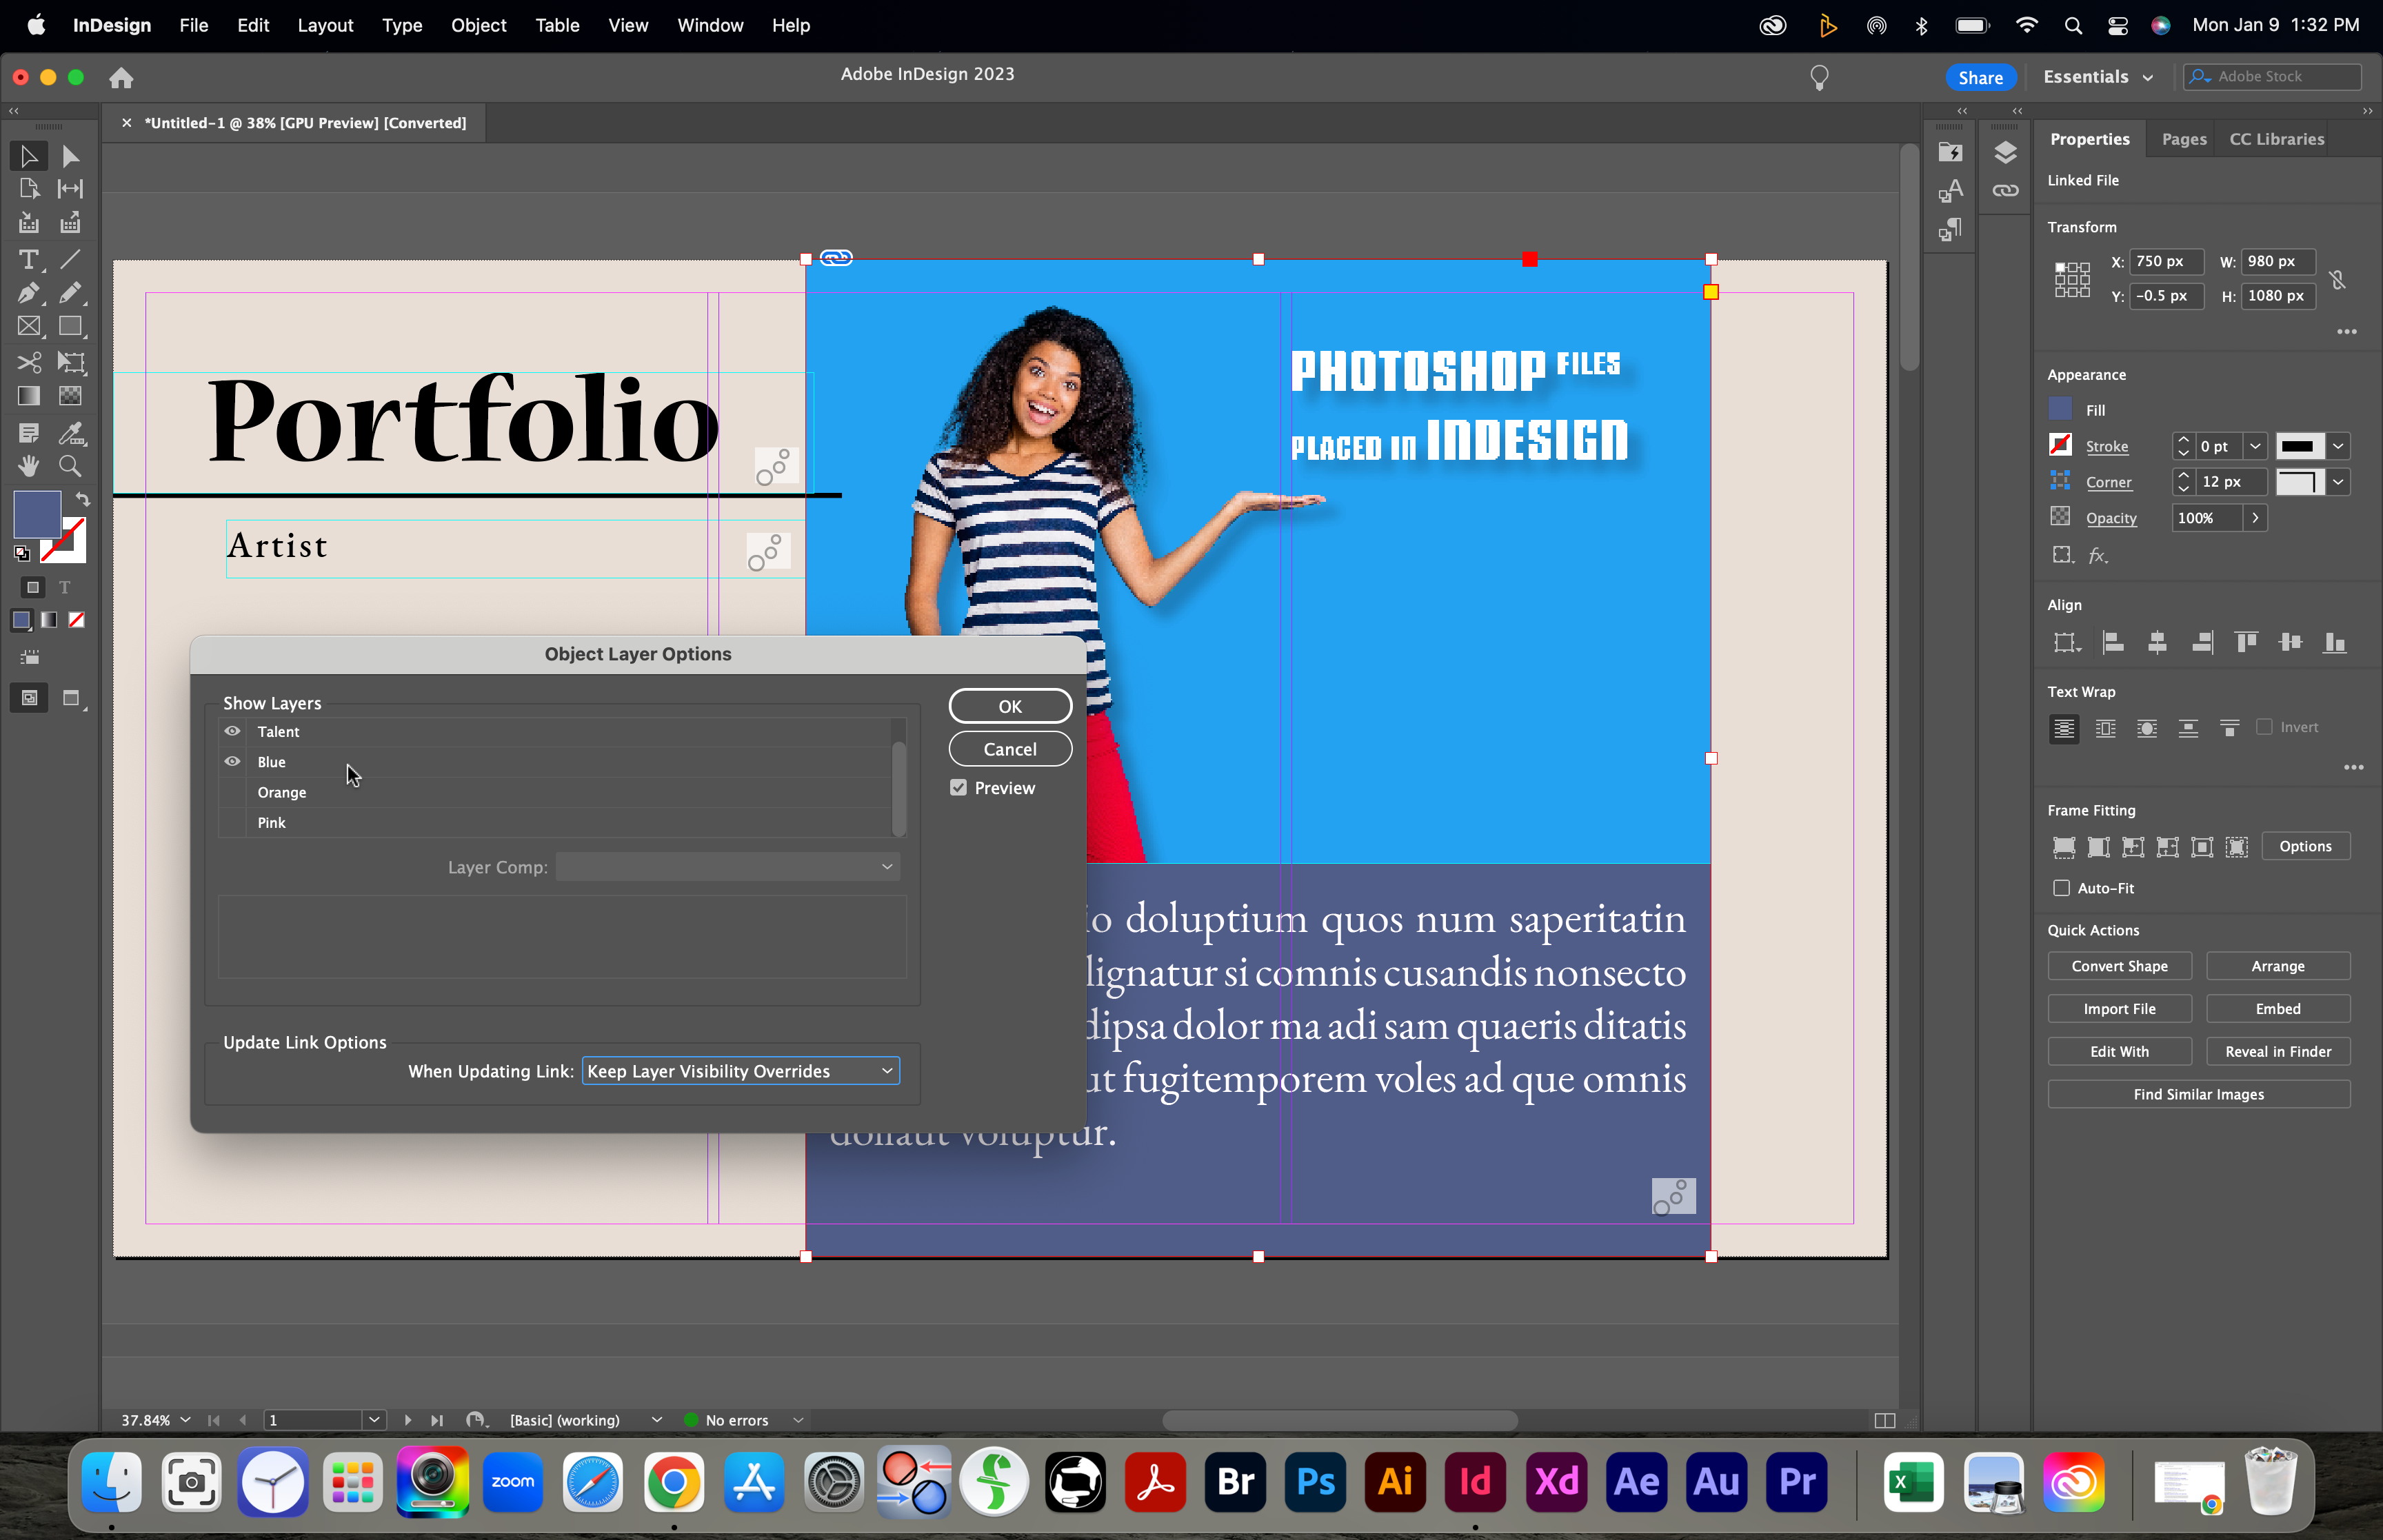
The answer is that Photoshop files allow us to have multiple layers in our image that we can turn on and off. InDesign can see these layers and allow us to turn them on and off as well, even after being placed and resized in our document!
Here’s how it works:
Step 1: Create a Photoshop file with multiple layers and save it.
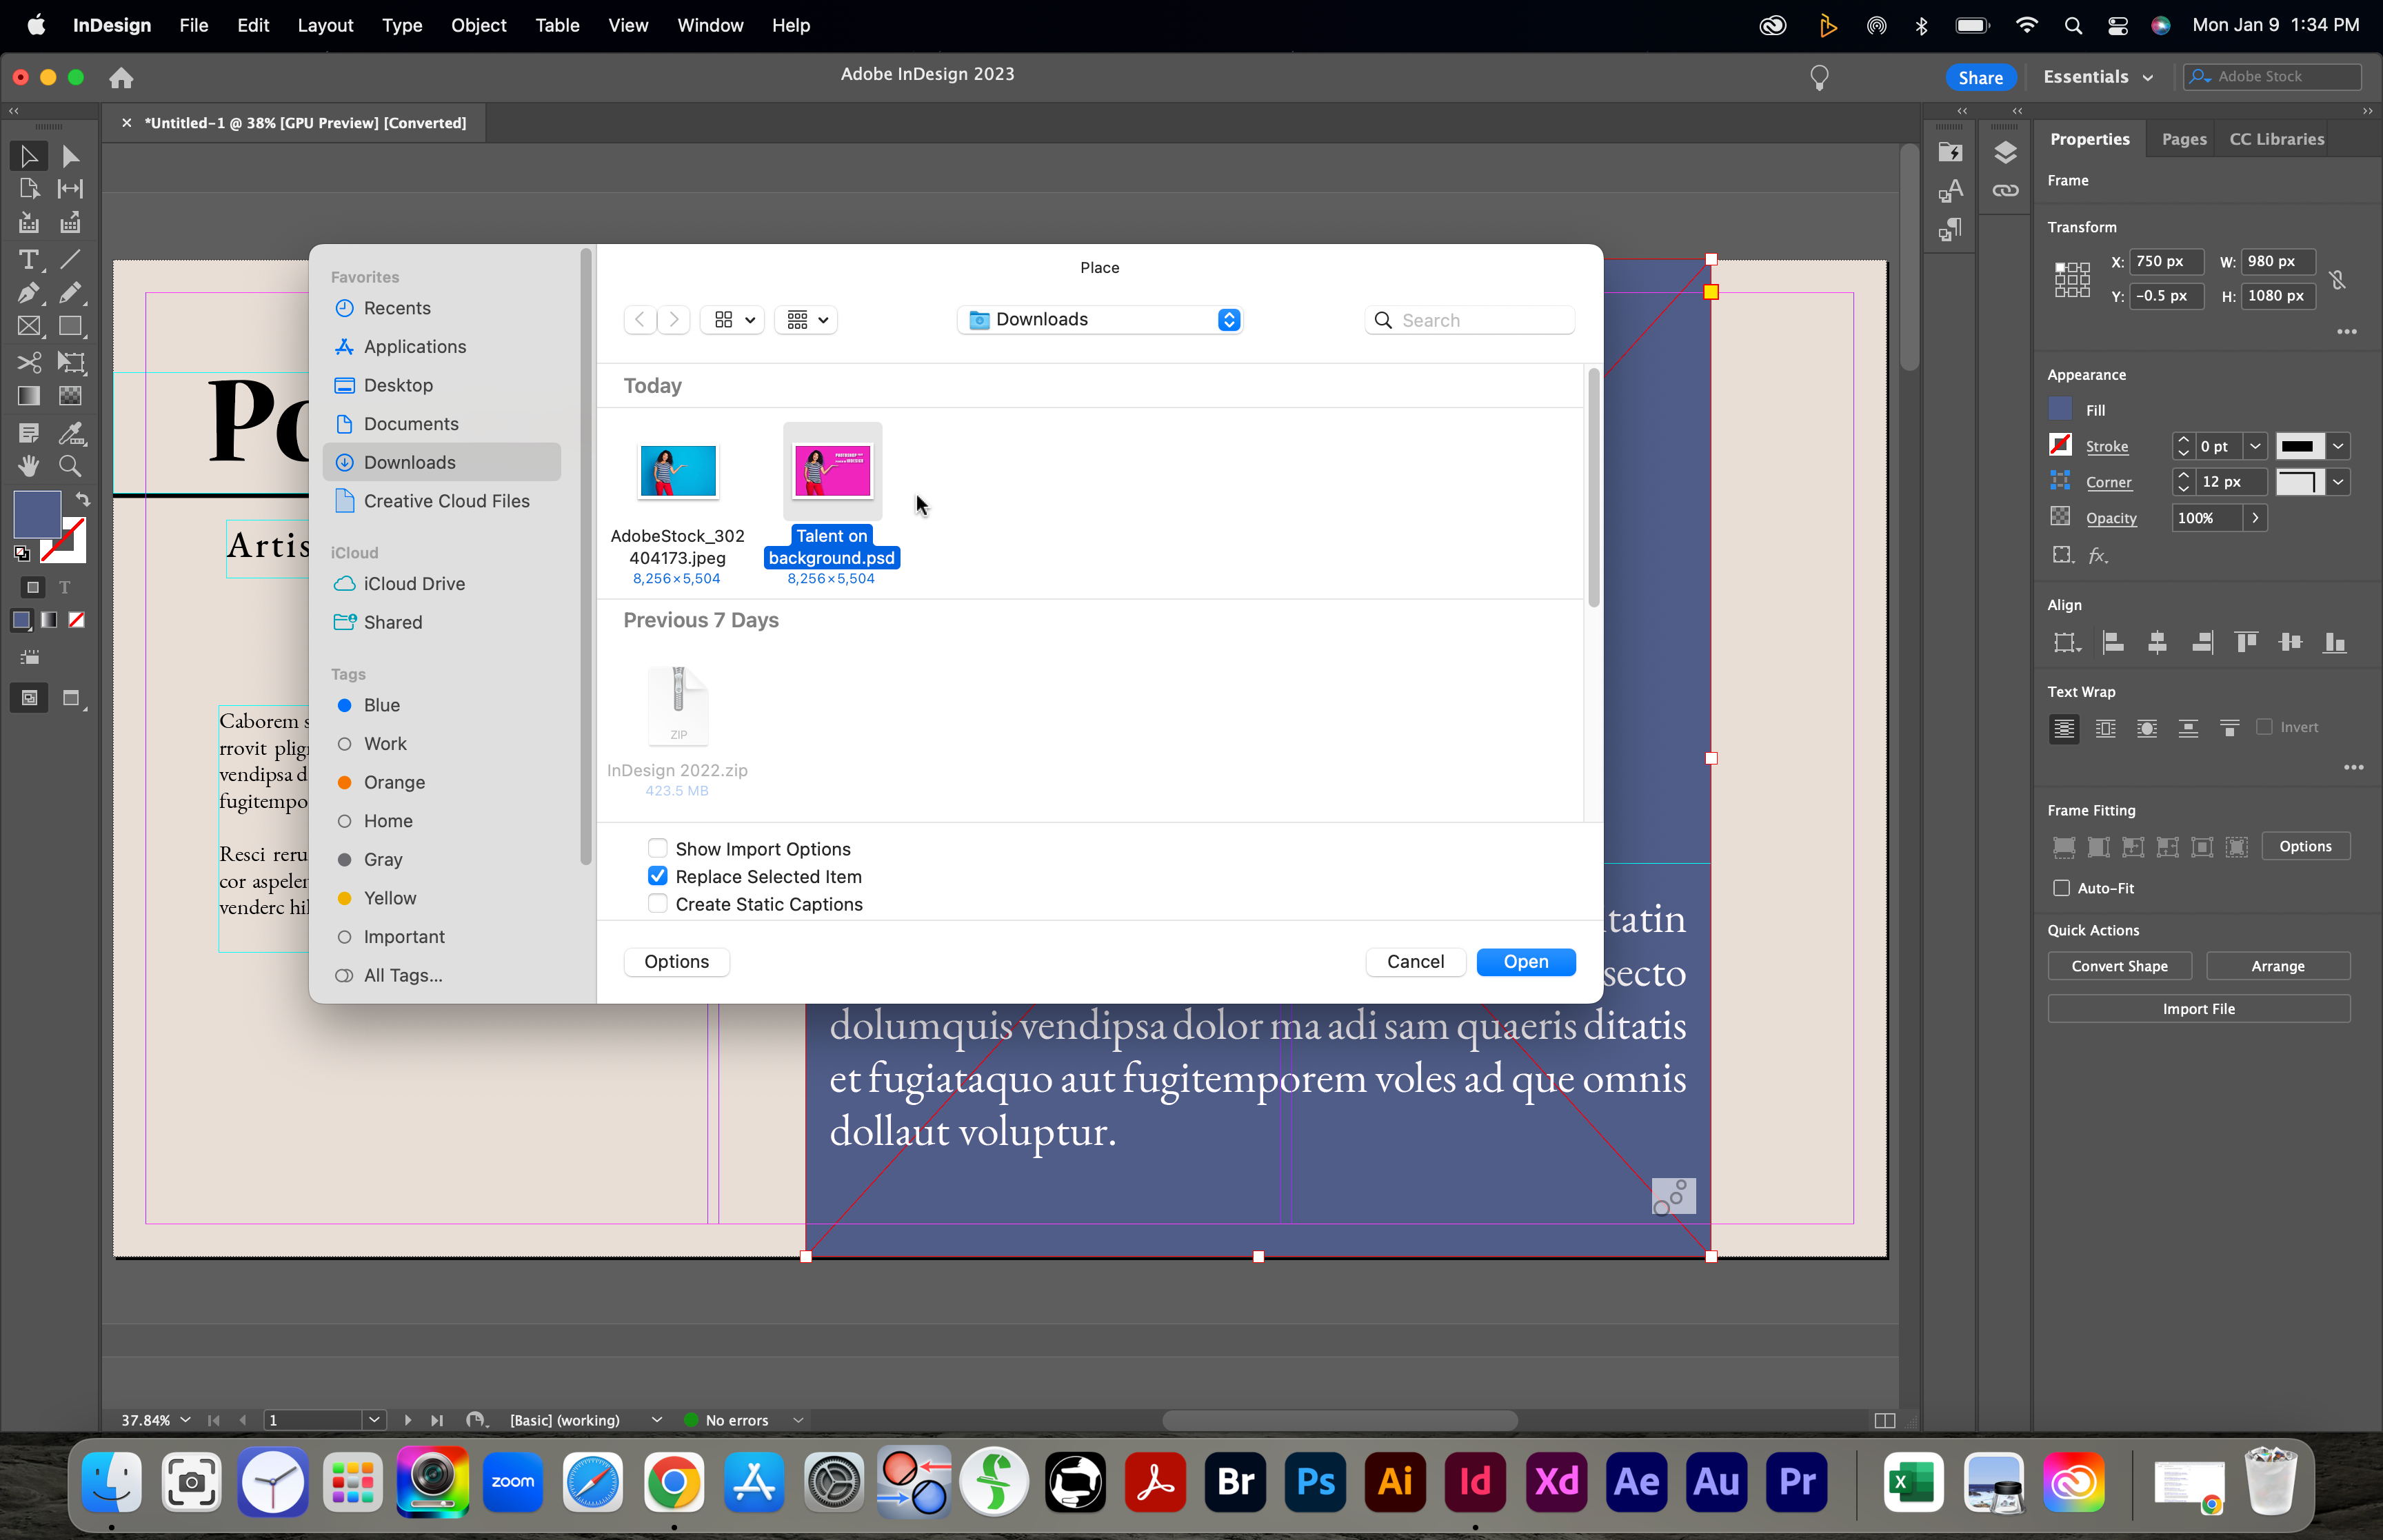
Step 2: Create an InDesign file and go to File > Place to import the Photoshop file.
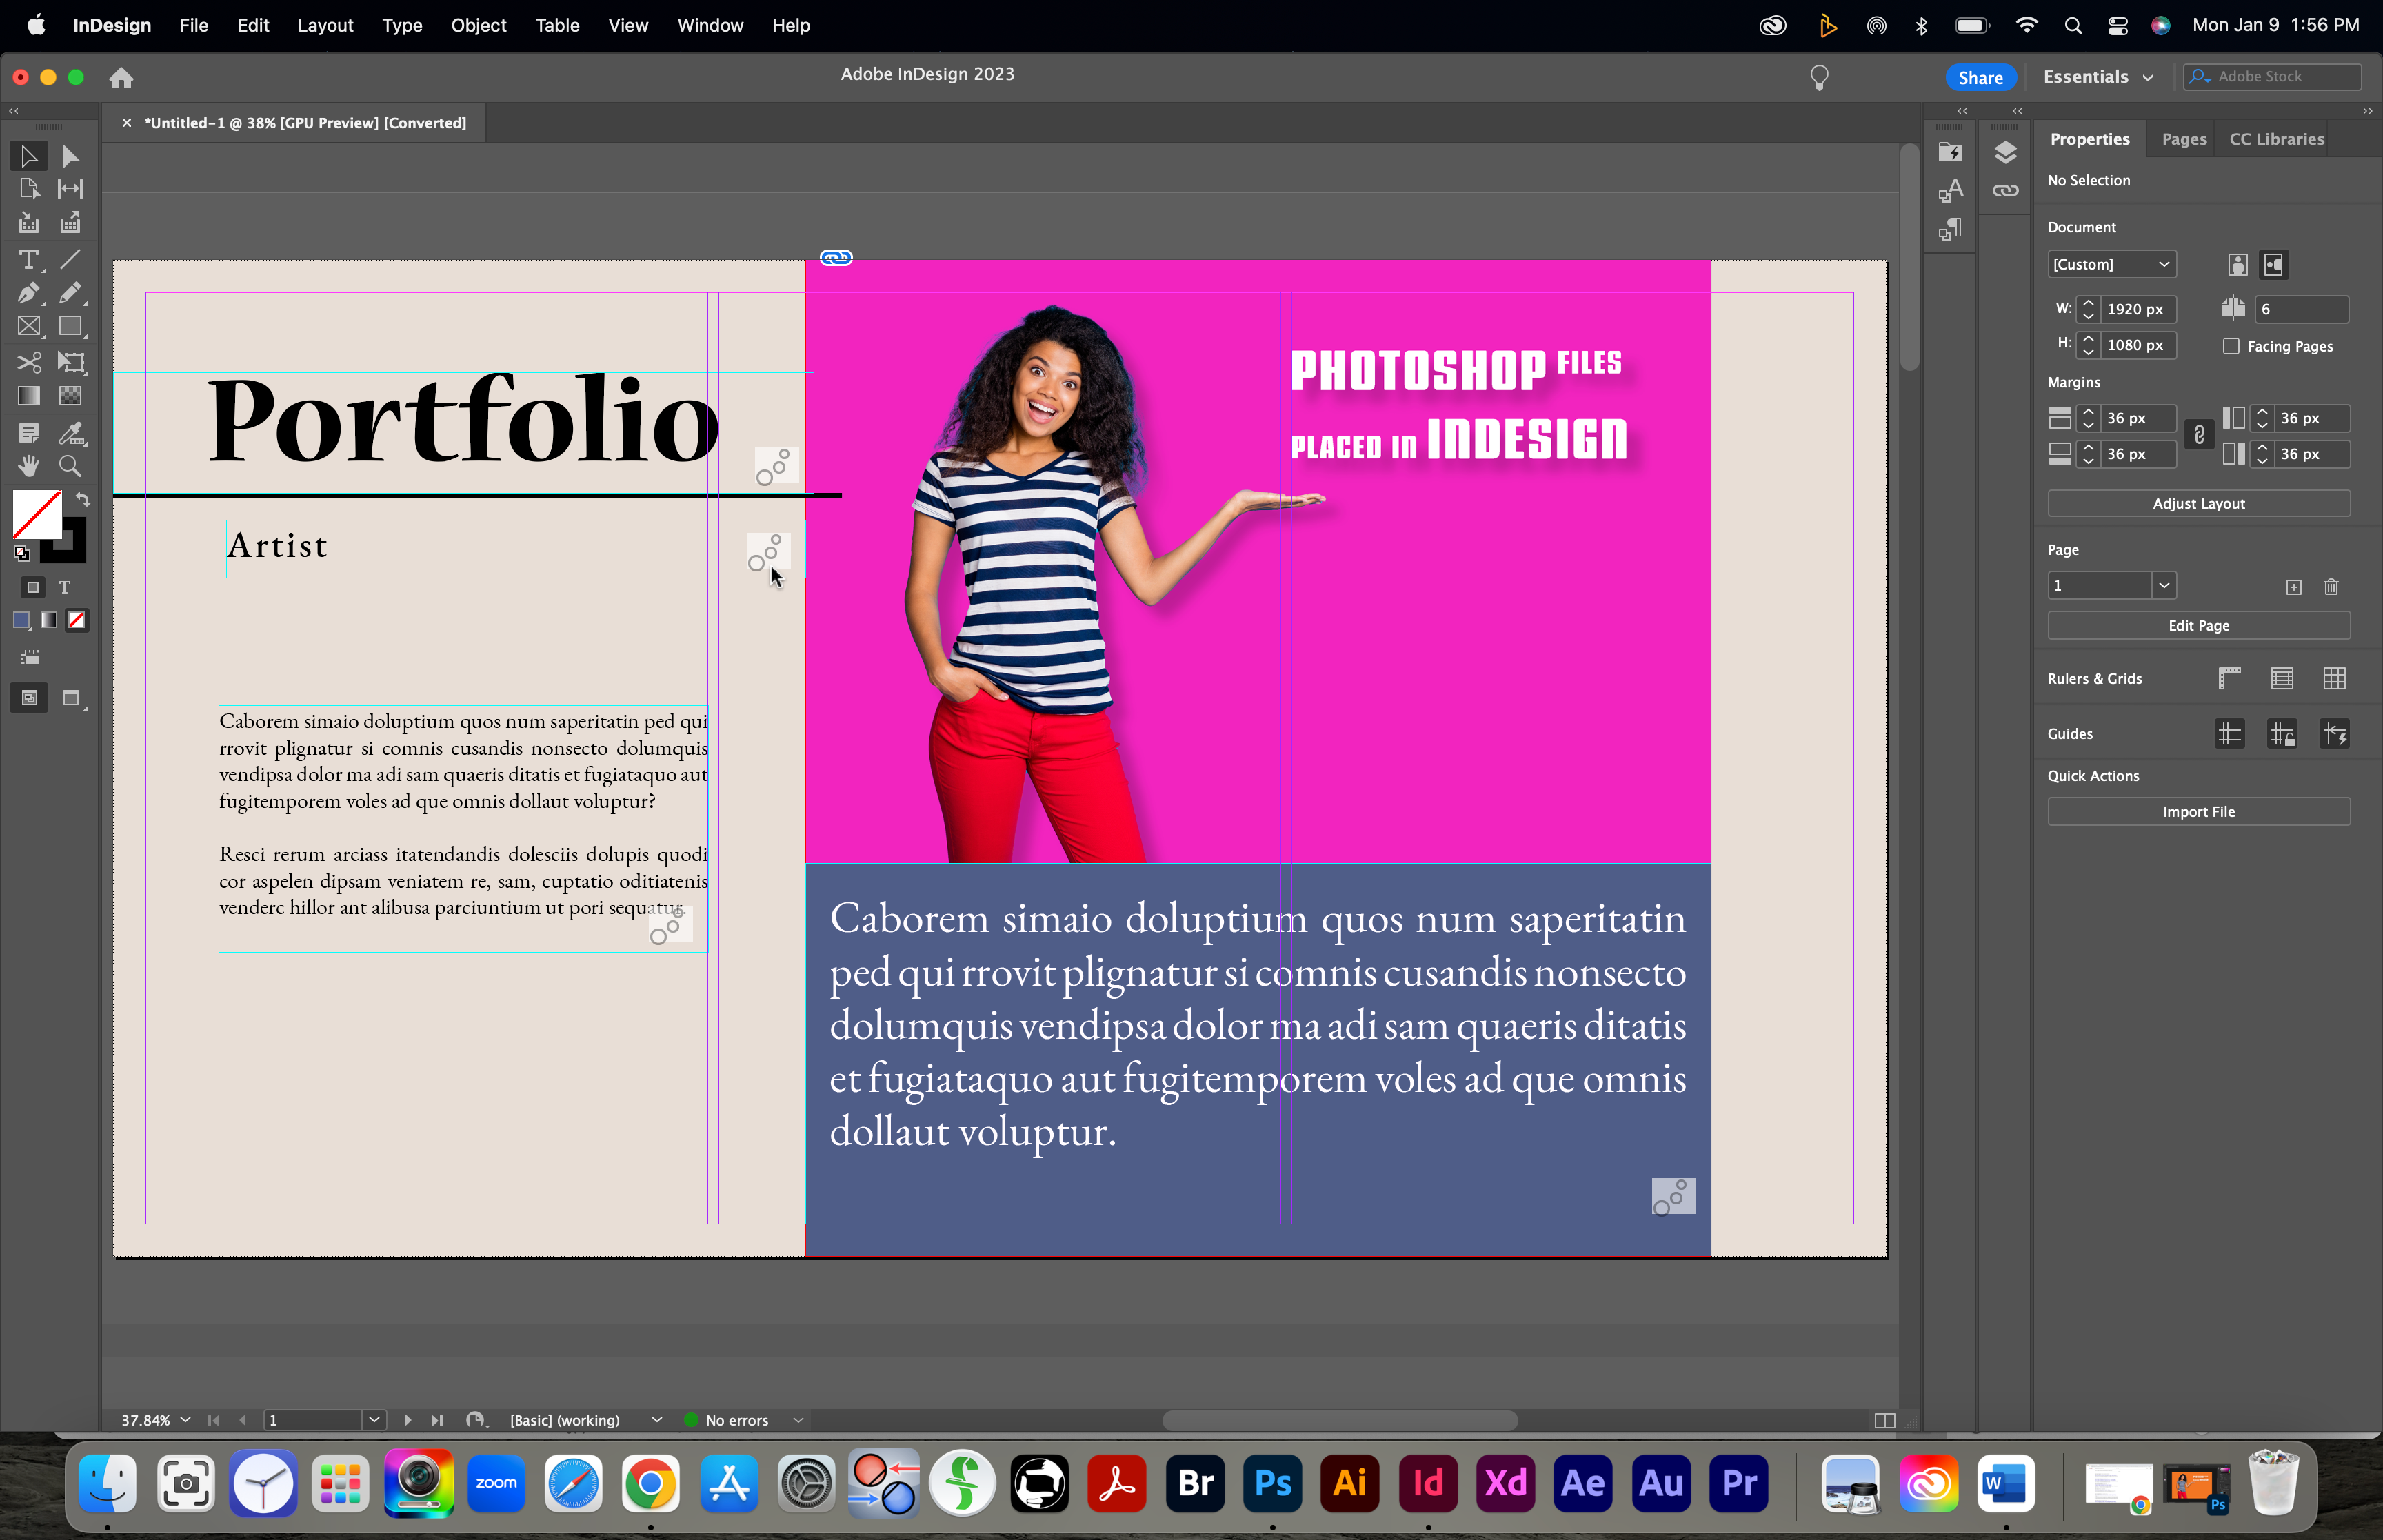
Step 3: Resize and align the image to fit your design.
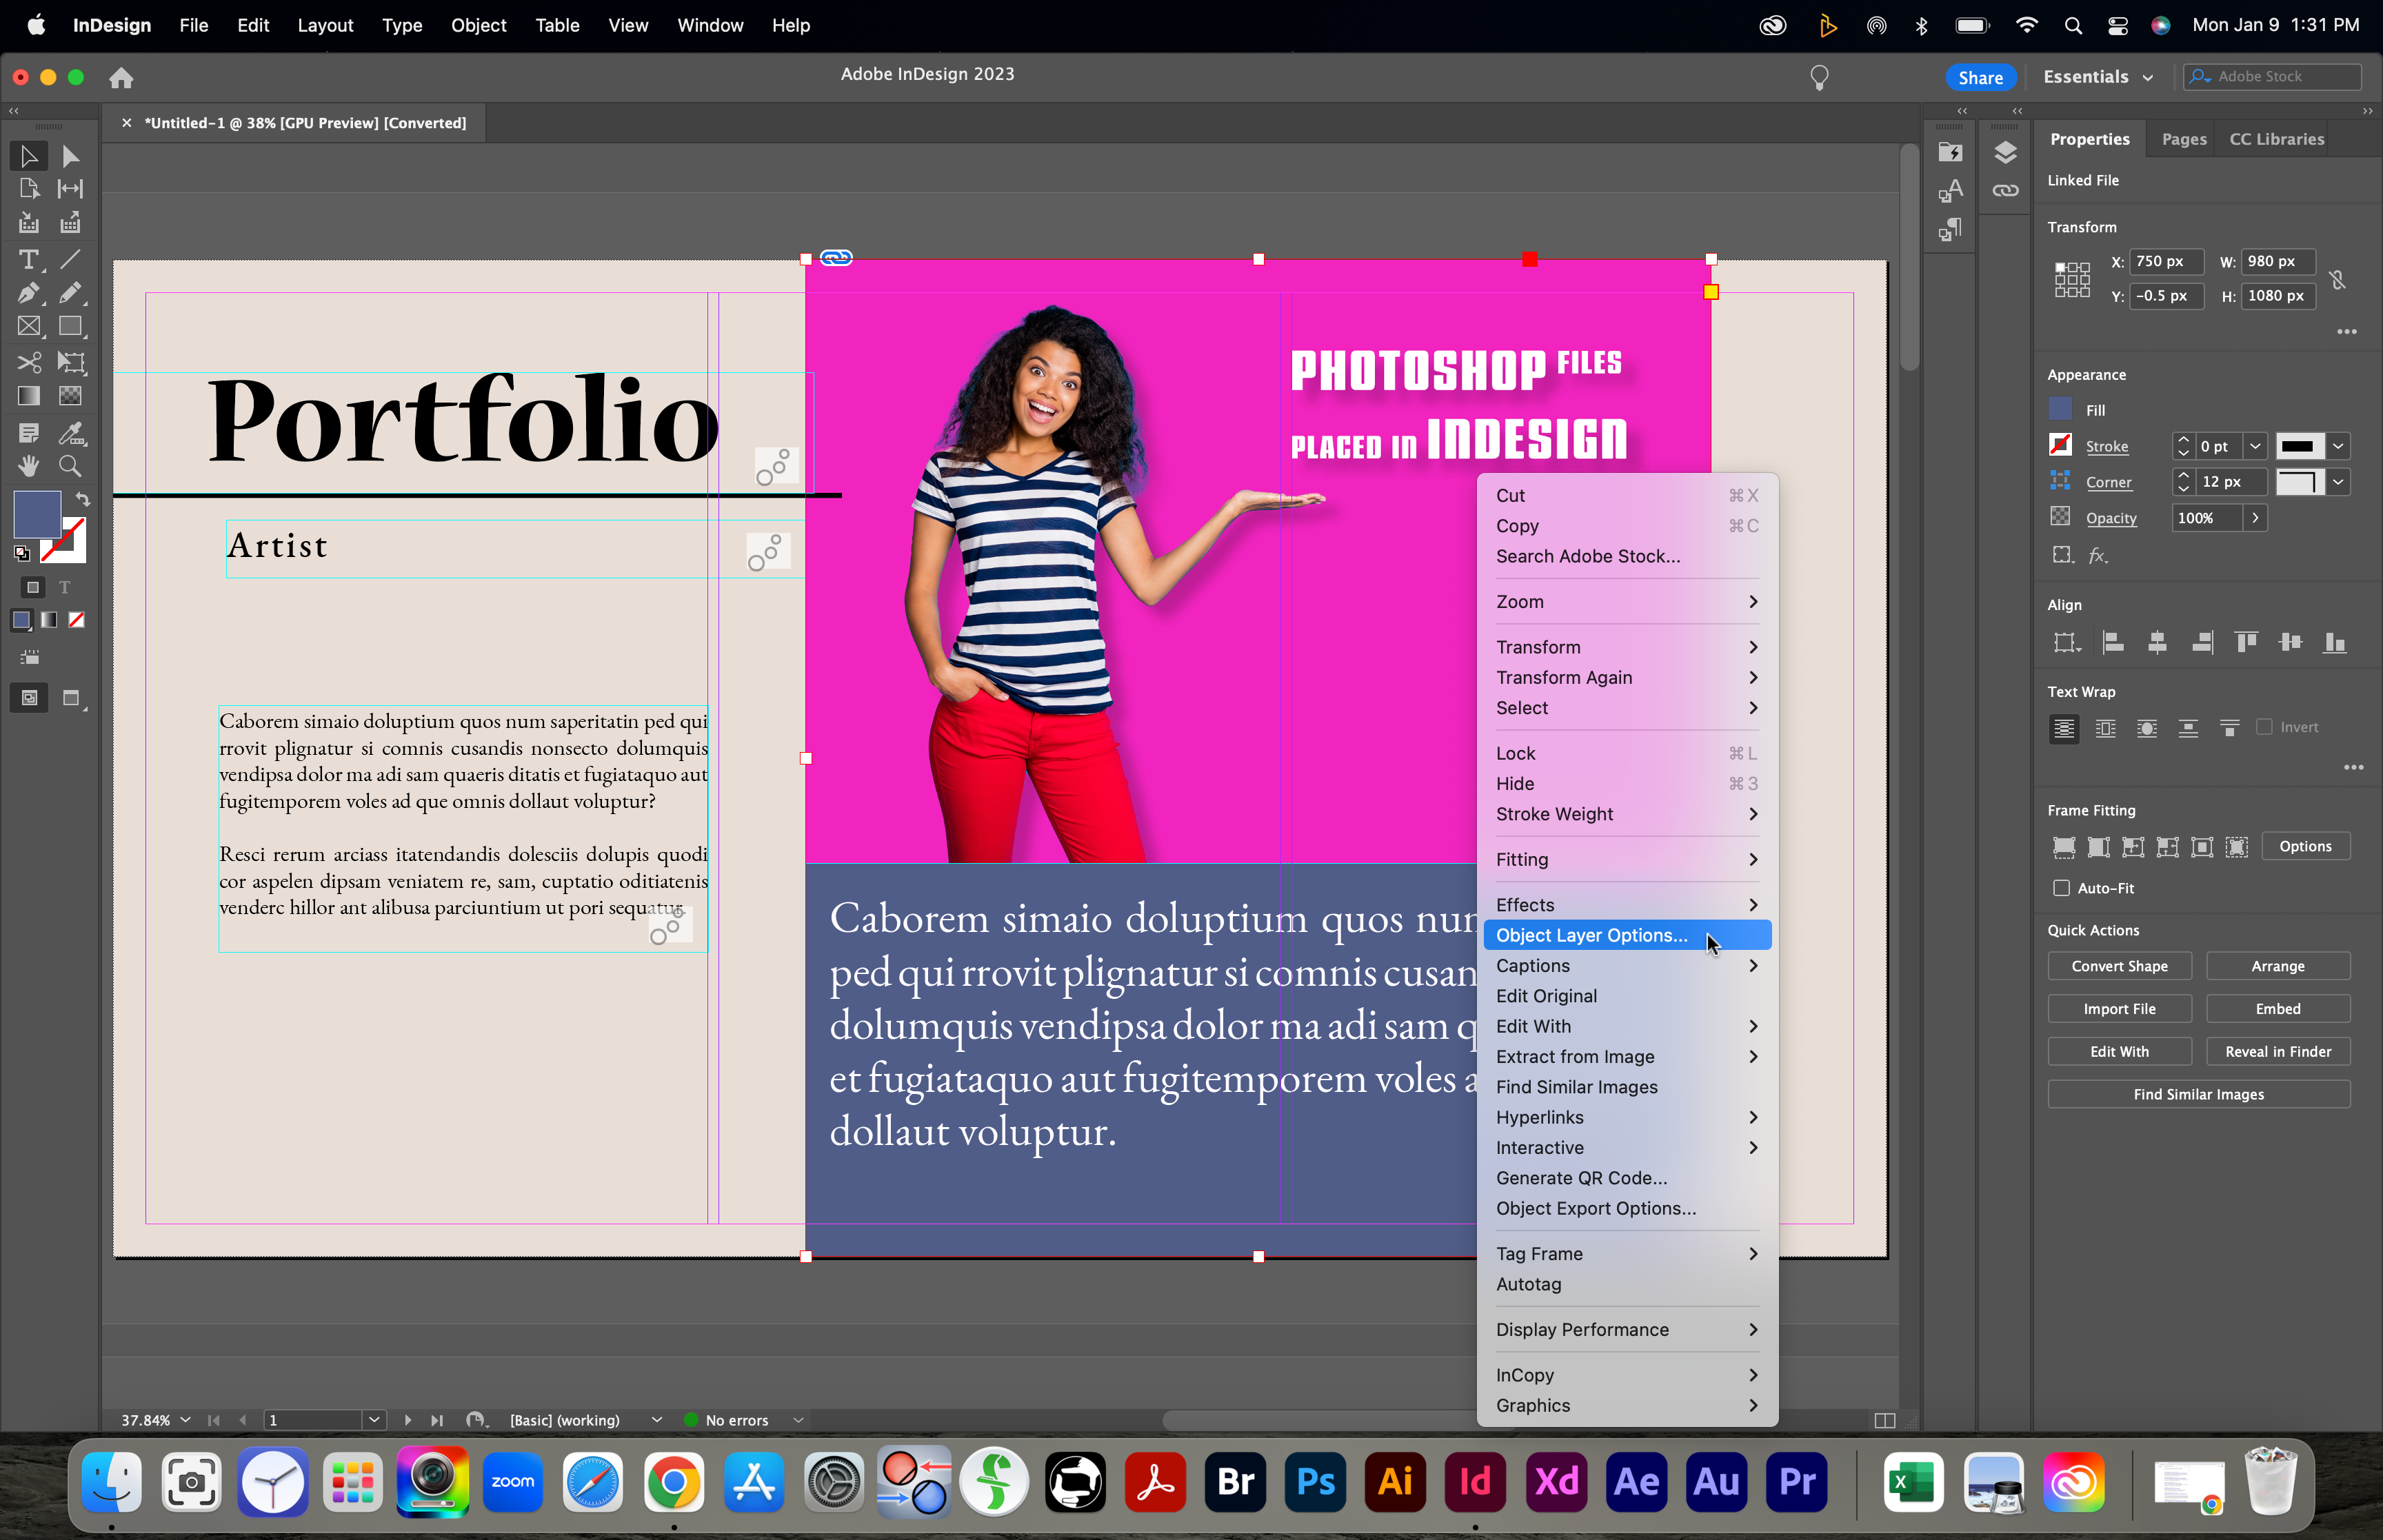
Step 4: Right-Click the image and choose Object Layer Options… from the menu.
Step 5: In the dialog box, click the layer visibility buttons (eye icons) on the left of the layers to toggle them on or off.
This is a great way to have control of your images and to let yourself or your colleagues see variations of your design without having to save multiple versions or to constantly replace the image in your document!