The Mail Merge feature in Microsoft Word is a great way to automate variations in bulk content. Whether you are creating personalized letters for recipients, address labels from a list, or name badges for your next event, Mail Merge is the feature to use. Here’s how to use it in the latest version of Microsoft Word!
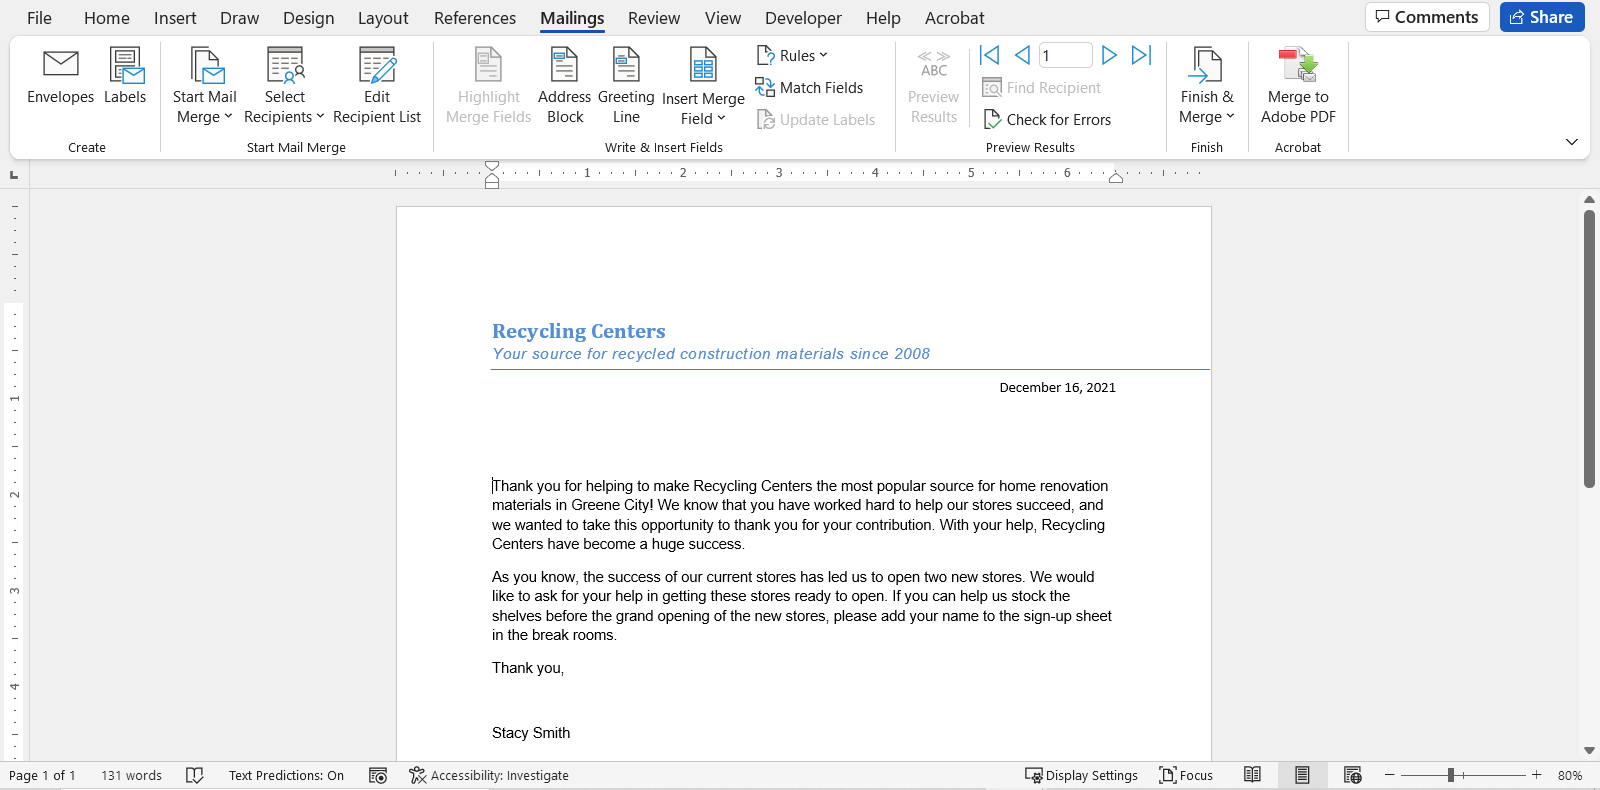
- Open a letter or any other document you want to have multiples of (with custom variations) in Word:
- On the Ribbon, select Mailings:

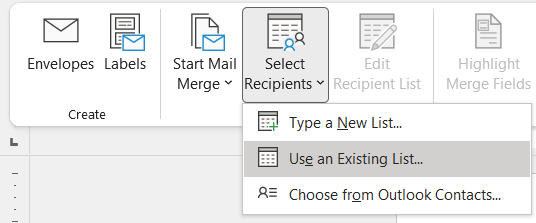
- On the Mailings tab, choose Select Recipients. In order for Word to know what information you are automating; a list must be selected. This list can come from Excel, Access, your Outlook Contacts, etc. Or you can manually create a list on the fly: (Excel is a great source, as you can create any information you want automated since you can create custom columns)
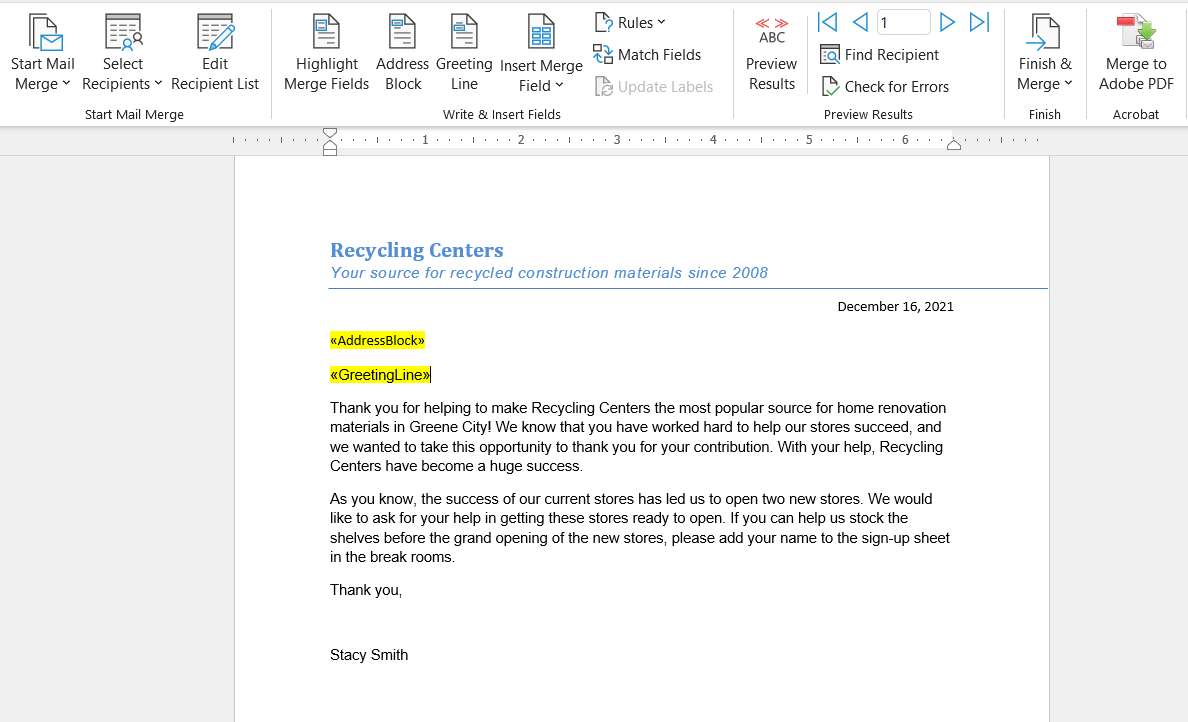
- Once you have selected your source, you will then see the Write and Insert Fields section of the Ribbon light up and allow you add an Address, Block, Greeting Line, or any single field into your letter or label. Add your fields wherever you need them into your letter or label.
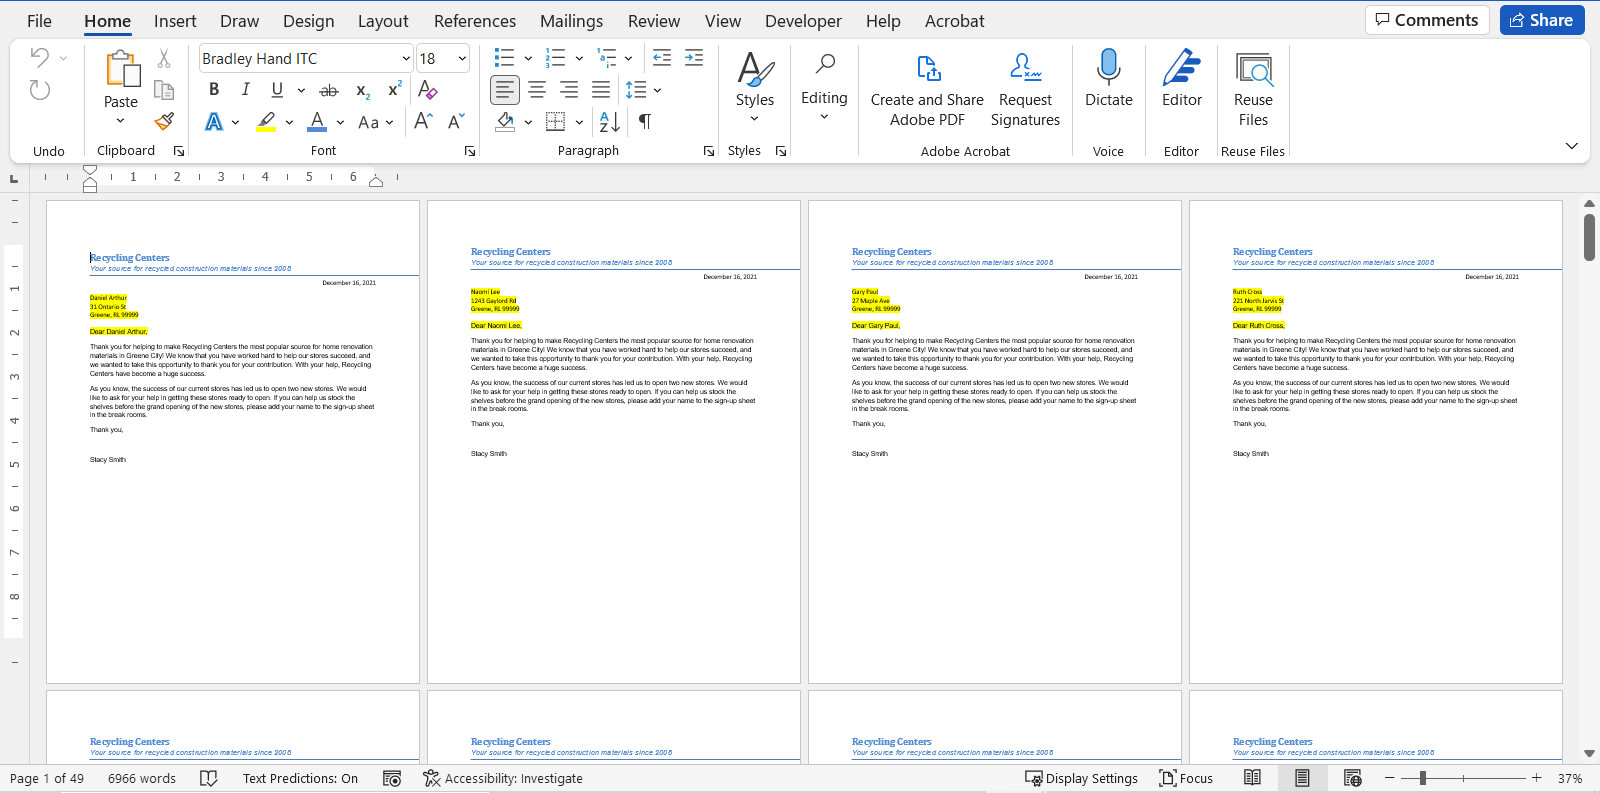
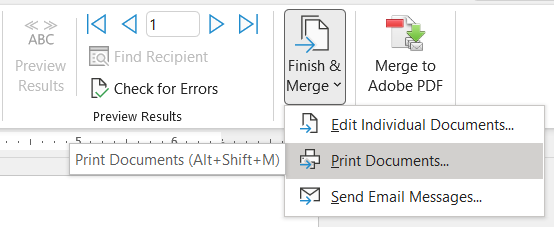
- You can preview the fields in real-time by clicking the Preview Results button. And once you are satisfied, click the Finish & Merge button to either Print, Create a Merged Document, or Email the content using Outlook (If your data source contains an email address).
And there you go! You have successfully completed a Mail Merge in Word, potentially saving you hours of time from manually changing each letter or label!