Assigning a Password to an Excel File
Passwords are used to protect a file. You can assign one password to open a file, and a different password to modify a file. If you assign both types of passwords to a file, only those users who know the open password can open the file, and only those users who know both the open and modify passwords can save changes to it.
Passwords are often assigned to files that contain sensitive data, such as salaries or bonuses. They can also be used to secure files stored on a network.
This Trainer Tip teaches you how to protect a file by assigning a password to it…
- Select the File The Backstage View appears.
- Select the Save As The Save As dialog box appears
- The dialog box defaults to the last known folder. Double click the folders to specify the file location and select the file you’d like to password protect.
- Select the Tools button (bottom right of dialog box to the left of the Save button). The Tools menu opens.
- Select the General Options The General Options dialog box opens, with the insertion point in the Password to open box.
- Type the desired password. Small solid circles () appear in the Password to open box, one for each character you type.
- Select OK. The Confirm Password dialog box opens, with the insertion point in the Reenter password to open box.
- Type the password again. Circles () appear in the Reenter password to open box, one for each character you type.
- Select OK. The Confirm Password and General Options dialog boxes close.
- Select Save. The Save As dialog box closes, and the password is saved with the file.
Opening a Password-protected File
Once a file is password-protected, you must know the password to open it. Whenever you try to open a password-protected file, the Password dialog box prompts you to enter the assigned password.
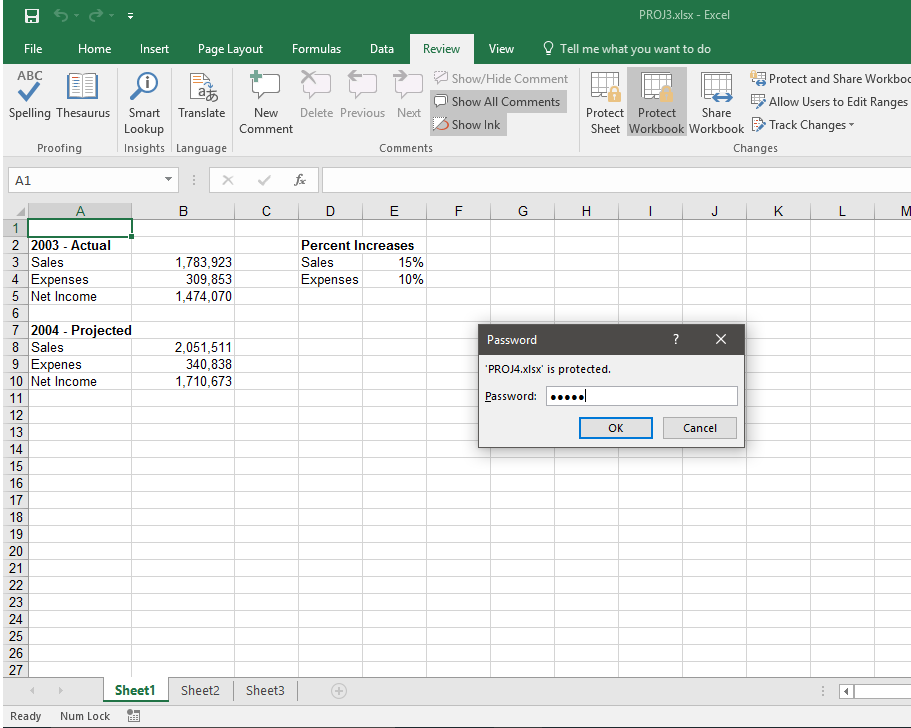
Here are the stops to open the protected file…
- Select the File The File menu opens.
- Select the Open The Open dialog box appears.
- Select the desired folder. A list of available folders and files opens.
- Select the password protected file. The file name is selected.
- Select the left-hand part of the Open button (bottom right of dialog box). The Open dialog box closes, and the Password dialog box opens, with the insertion point in the Enter password to open file box.
- Type the assigned password.
- Small solid circles () appear in the Enter password to open file box, one for each character you type.
- Select OK. The Password dialog box closes, and the document opens.
Come to Full Circle Computing to learn more about protecting your confidential Excel files plus much more in Excel Functions, Macros, Templates & Linked Workbooks course!!
